How to Set Up Dynamic Discounts
Dynamic Discounts are a powerful feature within SellKit that allow you to offer targeted discounts to your customers based on specific conditions. These discounts are adaptable and can be tailored to fit customer behavior, purchase history, and more, making them an effective tool for driving sales and rewarding customer loyalty.
Popular Examples of Dynamic Discounts
- Geolocation-Based Promotions: Using conditions like "Past Order Billing Country" or "Visitor Country," you can offer location-specific discounts, such as a special promotion for customers from a particular region or country. This can be especially useful for local events or regional holidays.
- Behavioral Incentives: With options like "Cart Total Items Count" or "Total Spent," you can encourage customers to increase their purchase size by offering discounts when they reach a certain number of items in their cart or exceed a spending threshold.
- Loyalty Rewards: By leveraging "Total Orders Count" or "Last Order Date," you can create discounts aimed at rewarding returning customers. For example, you might offer a special discount to customers on their 5th purchase or provide a loyalty discount for those who have made a purchase within the last month.
- First-Time Purchase Offers: Conditions such as "Signup Date" or "First Order Date" allow you to target new customers with a one-time discount to welcome them after their sign-up or first order. This can help convert new site visitors into buyers.
- UTM Campaign Tracking: Utilize UTM parameters such as "UTM Campaign" or "UTM Source" to provide discounts to users coming from specific marketing campaigns or traffic sources. This can be an excellent way to measure the effectiveness of your marketing efforts and reward users coming from preferred channels.
Creating a Dynamic Discount:
Step 1: Access Dynamic Discounts
Navigate to the SellKit panel on your WordPress dashboard, and click on Dynamic Discounts. Here, you can create new discounts tailored to your marketing strategy.

Step 2: Add a New Dynamic Discount
Click on the Add Dynamic Discount button. This action opens a new page where you can define the rules and parameters for your discount.
Step 3: Define Discount Details
- Name Your Discount: Enter a descriptive name for the discount to help you identify it later.
- Select Discounted Items: Use the filter to specify which items the discount applies to. If no filter is selected, the discount applies to all products.
Step 4: Set the Discount Trigger
Define what will trigger the discount. You might select options like "User role is Subscriber" or "Cart total exceeds a certain amount". Click Add Condition to specify.
To learn more about conditions click here.

Step 5: Determine the Discount Amount and Label
- Decide if the discount is a percentage or a fixed amount, then specify the value.
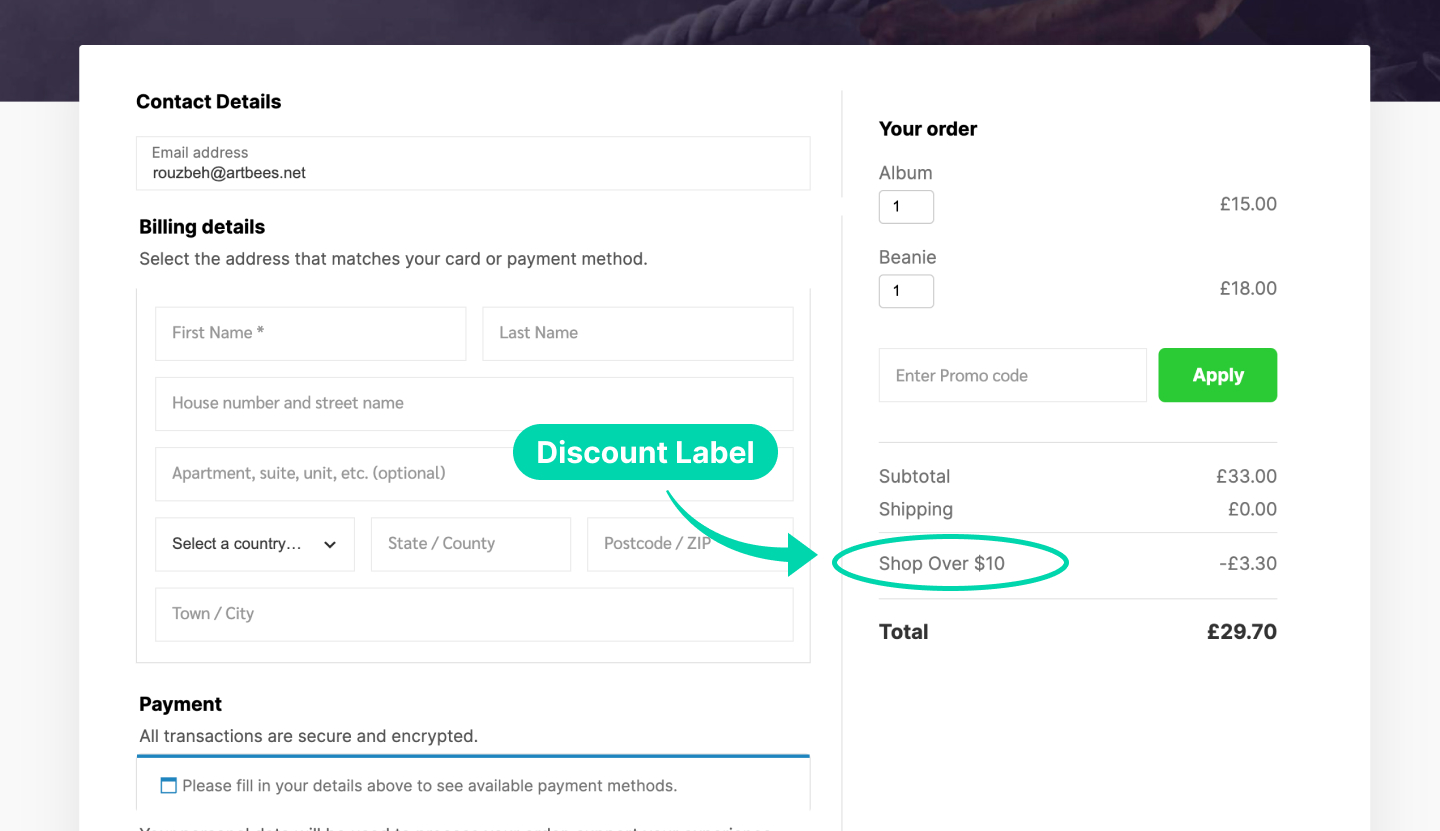
- Give your discount a descriptive, appealing label that will display on the checkout page order details. This label lets customers know a discount has been applied, so craft it in a way that sounds attractive and incentivizes them to complete the purchase.
Step 6: Additional Conditions
- Can be used in conjunction with other discounts: Toggle this switch to ON if you want this discount to be applicable even when other discounts are already applied.
- Repeat discount for the same customer: If this is set to ON, it will allow the discount to be applied multiple times for a single customer. If you prefer the discount to be a one-time offer per customer, keep this option OFF.
- Apply to products on sale: By toggling this to ON, the discount will also apply to products that are on sale. If you want to exclude sale items from this discount, switch this option to OFF.
- Select a priority for this discount: This dropdown menu allows you to set the priority of this discount in relation to other discounts. If multiple discounts can apply to the same product, SellKit will use this priority setting to determine which discount to apply first.
Step 7: Set Validity Period
Determine the time frame for which the discount is valid by entering a start and end date. This ensures the discount is only available during the specified period.
Step 8: Activation
Choose whether to activate the discount immediately after creation by checking the appropriate box.
Step 9: Save Your Dynamic Discount
Click Create to save and implement your new Dynamic Discount. If you're not ready to save, or if you wish to discard your changes, select Discard.
Need help?
Need help configuring dynamic discounts? Contact SellKit support team and we’ll be happy to assist.